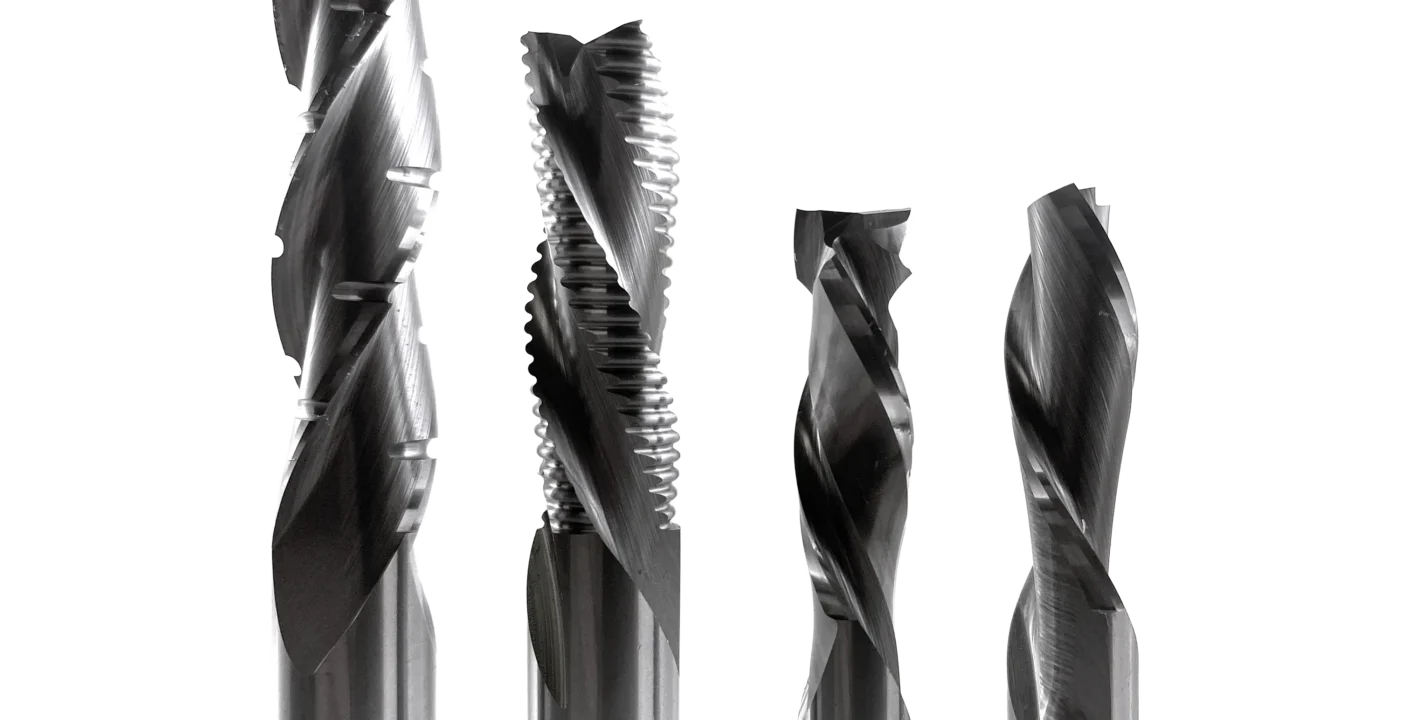
Getting chip load right is one of the most important factors in maximizing tool life, cut quality, and CNC productivity.
A chip load calculator gives you a valuable starting point, but it cannot tell you the optimum chip load for your specific application.
Why? Because every cutting application is different. Machine rigidity, spindle power, tool geometry, cutting depth, workholding, material composition, and other machining conditions all influence how aggressively a tool can cut.
The goal is not simply to operate at a published chip load. The goal is to use the recommended range as a starting point and then find the “sweet spot” where you achieve the highest practical chip load while maintaining the required finish quality.
That is where you can achieve the best combination of tool life, productivity, and lowest cost per panel or part.
What Is Chip Load?
Chip load is the thickness of material removed by each cutting edge, or tooth, during one revolution of the tool.
It is calculated using three basic operating parameters:
Chip Load = Feed Rate ÷ (RPM × Number of Flutes)
For example, a 2-flute cutter operating at 18,000 RPM and 360 inches per minute has a chip load of:
360 ÷ (18,000 × 2) = 0.010″ per tooth
Conversely, if you know your target chip load, you can calculate a starting feed rate:
Feed Rate = RPM × Number of Flutes × Chip Load
These calculations provide the mathematical relationship between feed rate, spindle speed, flute count, and chip load. The next step is determining which combination produces the best results on your machine.
Why Bigger Chips Can Mean Longer Tool Life
One of the most common mistakes in CNC machining is assuming that reducing the feed rate is easier on the cutting tool.
Often, the opposite is true.
When chip load is too low, the cutting edge removes a very small chip and may begin to rub rather than cut efficiently. This generates heat in the cut and can cause the cutting edges to deteriorate prematurely.
Within the appropriate reference range for the tool and material, a larger chip generally carries more heat away from the cutting edge and can provide longer tool life.
This is why the objective is not necessarily to run at the middle or lower end of a recommended chip load range.
Instead, you want to determine the highest effective chip load your particular application can support while still producing the required finish quality.
Finding Your Optimum Chip Load
Published chip load recommendations should be treated as starting ranges, not fixed operating specifications.
To find the optimum chip load for your particular machine, tool, and material:
- Start with the recommended chip load. Set your initial RPM and feed rate using the reference chip load for the tool diameter and material being machined.
- Gradually increase the feed rate. Continue increasing feed while monitoring cut quality. As feed rate increases at a constant RPM, chip load increases.
- Continue until finish quality becomes unacceptable. This establishes the upper practical feed-rate limit for the application.
- Slowly reduce the feed rate. Decrease feed until the desired finish quality is restored. Record this feed rate.
- Begin reducing spindle RPM. With the feed rate established, gradually decrease RPM while continuing to monitor finish quality. Lowering RPM while maintaining feed rate increases chip load.
- Continue until the finish deteriorates. This identifies the lower practical RPM limit for the application.
- Increase RPM slightly until the desired finish returns.
At this point, you have found the application’s sweet spot,the combination of feed rate and spindle speed that produces the largest practical chip while maintaining the required finish.
This is your optimum chip load for that particular machining setup.
Why the Optimum Chip Load Is Application-Specific
There is no single perfect chip load for a tool simply because it has a particular diameter or is machining a particular material.
Recommended chip load charts provide a safe and practical place to begin testing. Actual optimum performance can be affected by:
- Machine rigidity
- Spindle power and condition
- Tool diameter and geometry
- Number of cutting edges
- Tool projection
- Toolholding and clamping
- Cutting depth
- Radial engagement
- Workholding
- Material composition and density
- Required surface finish
- Tool condition and wear
Even two CNC machines running the same tool in the same nominal material may perform best at different feeds and speeds.
For this reason, recommended chip loads should always be considered starting points for optimization.
Adjusting for Cutting Depth
GDP Tooling’s recommended chip load ranges assume that cutting depth is approximately equal to the tool diameter.
As cutting depth increases, more of the cutting edge is engaged and cutting forces increase. A reduction in chip load may therefore be necessary.
As a starting guideline:
- At approximately 2× tool diameter cutting depth, reduce the recommended chip load by approximately 20–25%.
- At approximately 3× tool diameter cutting depth, reduce the recommended chip load by approximately 40–50%.
- When using a downcut spiral for dados or grooves, reduce feed rate by approximately 30%.
- Plastic machining may require lower spindle speeds depending on the tool geometry and specific material.
Once again, these adjustments establish a starting point. The final parameters should be determined by actual cutting performance.
Understanding Chip Thinning
Another factor that can affect actual chip thickness is radial chip thinning.
Chip thinning can occur when radial engagement, or stepover, is less than approximately half the tool diameter. Under these conditions, the actual chip thickness can be less than the nominal calculated chip load.
If feed rate is not adjusted accordingly, the cutting edge may take too small a chip, resulting in rubbing, heat generation, and premature wear.
GDP Tooling’s standard Chip Load Calculator calculates nominal chip load and does not automatically compensate for chip thinning.
Signs Your Chip Load May Be Too Low
Watch for:
- Excessive heat
- Premature cutting-edge wear
- Burning or discoloration
- Material melting or smearing in some plastics
- Poor tool life despite relatively conservative feed rates
- Fine dust rather than properly formed chips
- Evidence that the cutting edge is rubbing rather than shearing material cleanly
Slowing the feed rate is not always the solution. If chip load is already too low, slowing down further can actually make the problem worse.
Signs Your Chip Load May Be Too High
An excessively high chip load can produce a different set of problems:
- Poor surface finish
- Excessive cutting forces
- Chatter or vibration
- Machine or spindle overload
- Workpiece movement
- Edge chipping
- Tool deflection
- Tool breakage
The optimum setting lies between these two extremes: aggressive enough to produce an efficient cutting action, but not so aggressive that finish quality, machine stability, or tool integrity suffers.
Using GDP Tooling’s Chip Load Calculator
GDP Tooling’s Chip Load Calculator makes it easy to determine the chip load produced by your current machining parameters.
Enter:
- Feed rate
- Spindle speed (RPM)
- Number of flutes
The calculator determines the resulting chip load per tooth.
You can then compare that value with GDP Tooling’s recommended starting range for your tool diameter and material.
From there, use the optimization process described above to determine the best feed rate and spindle speed for your actual application.
The Goal: Lowest Cost per Part
The purpose of optimizing chip load isn’t simply to achieve a particular number.
It is to find the cutting conditions that give you the best overall manufacturing result:
Good finish + maximum practical feed rate + long tool life = lower cost per part or panel.
Running too conservatively can reduce productivity while simultaneously shortening tool life if the cutting edge is rubbing and generating excess heat.
Running too aggressively can compromise finish, overload the tool, and increase the risk of breakage.
The optimum lies in the sweet spot between the two.
Frequently Asked Questions
What is the difference between chip load and feed rate?
Chip load is the thickness of material removed by each cutting edge. Feed rate is the linear speed at which the tool moves through the material.
The two are directly related:
Feed Rate = RPM × Number of Flutes × Chip Load
Is the recommended chip load the optimum chip load?
Not necessarily. A recommended chip load provides a starting range based on the tool diameter and material being machined.
The optimum chip load is determined by actual cutting conditions and is the highest practical chip load that maintains the required finish and stable cutting performance.
Should I reduce feed rate to extend tool life?
Not automatically.
If chip load is already too low, reducing feed rate makes the chip even smaller and can increase rubbing and heat at the cutting edge. In many applications, increasing chip thickness within an appropriate range can improve tool life.
Why does reducing RPM increase chip load?
If feed rate remains constant, reducing RPM means each cutting edge makes fewer passes through the material per minute. Each cutting edge therefore removes a thicker chip.
How do I know when I’ve found the sweet spot?
Increase feed rate until finish quality deteriorates, then reduce it until the required finish returns. Next, gradually reduce RPM until finish deteriorates again, then increase RPM just enough to restore the desired finish.
The resulting combination of feed rate and RPM establishes the optimum operating point for that particular setup.
Start With the Calculator. Finish at the Machine.
A chip load calculator is an excellent tool for establishing initial cutting parameters,but the calculator is the beginning of the optimization process, not the end.
Start with GDP Tooling’s recommended chip load range. Calculate an appropriate feed rate and RPM. Then use actual cutting performance to optimize those parameters for your machine, material, tool, and finish requirements.
By systematically increasing feed and optimizing spindle speed, you can find the application’s sweet spot and achieve the combination that matters most:
Better tool life. Higher productivity. Good finish. Lower cost per part.